Justice in the Yami Belt

There are four separate sovereigns operating in the Yami Belt with the ability to lawfully prosecute crimes (and issue warrants of arrest for suspects).

  • Red Band Warrants are sanctioned by the Church and enforced by the Vratya Rudram (Fist of the Inquisition)
  • Gold Band Warrants are sanctioned by the Parliament of the Solar Kingdoms and enforced by the Justicars of the Ministry of Justice
  • Blue Band Warrants are sanctioned by the Solar Admiralty, and enforced by the Regimental Provosts
  • Black Band Warrants are sanctioned by Mercantile Houses of the Commerce Union, and enforced by licensed Bounty Hunting Guilds

Selected Red Band Crimes, from worst to least:

  • Apostasy,
  • Necromancy,
  • Maleficium,
  • Sorcery,
  • Heresy
  • Sorcery,
  • Witchcraft,
  • Blasphemy,
  • Sacrilegious Acts

Selected Gold Band Crimes, from worst to least:

  • Insurrection,
  • Genocide
  • Terrorism,
  • Assassination,
  • Serial Murder
  • Murder,
  • Kidnapping,
  • Sedition,
  • Petty Crime,
  • Failure to Respond to Summons

Selected Blue Band Crimes, from worst to least:

  • Treason,
  • War Crimes,
  • Mutiny,
  • Piracy,
  • Aiding the Enemy,
  • Desertion,
  • Assaulting a Superior Officer,
  • Disobeying a Superior Officer,
  • Absent Without Leave,
  • Administrative Offenses

Selected Black Band Crimes, from worst to least:

  • Arson,
  • Sabotage,
  • Espionage,
  • Grand Theft,
  • Embezzlement,
  • Fraud,
  • Theft

Chandra Sundries

In AY 1936, the Subahu-based Chandra Sundries joined the arms industry and developed a non-lethal weapon for the Solar Navy. While the gun performed admirably, the Navy ultimately went with a Raka based manufacturing cartel (Chandra Sundries filed an appeal with the Prince of Commerce alleging favouritism, but lost the case).

Undeterred, Chandra continued forward by marketing to local defense departments. Police and Security forces quickly adopted the DA-Z in the more Inner Worlds, as well as the Yami Belt where constant jurisdiction disputes necessitated a non-lethal solution to apprehending criminals.

Within fifteen years, Chandra Sundries had nearly 25% of the non-lethal armament market. As the previous military contract for non-lethal arms expiring, the Janya Military Police forces signed a 10 year renewable contract for non-lethal weaponry which has continued to this day.

While there have been dozens of other manufacturing cartels releasing variant ‘lightning gun’ versions of their more lethal blaster weaponry – and some that possibly perform better, the Chandra Sundries Dazer models remain the industry standard for civilian and police forces throughout the solar system.


CS-12: Concealable variant (requires restricted license in the Kingdoms)

CS-22: Sidearm Variant (requires common license in the Kingdoms)

CS-35: Carbine Variant, enhanced damage (does not require a license for home defense, private ownership subsidised during incursions)

CS-47: Longarm Variant, maximum damage and range (requires restricted license in the Kingdoms during times of peace, common license during incursions)


Note: Civilians with military training in firearm combat are rarely declined the common license, and only occasionally denied restricted licenses.

Episode Five, Session Two

Scene Two: Yami Belt Quadrant III, contested space. The Parindra II, amidst the wreckage of two Marauder class vessels.

The boarding party, consisting of Captain Chabra, Chief Mala, Chief Vãhakah, Bosun Kaffir, and five Damage Control Crew head over to the disabled Marauder in the Sulas Tine, the Privateer Corvette that serves as the Ship’s Boat to the Parindra II.

Boarding begins at the larger airlock located on the Engineering / Propulsion Decks. The radioactive fuel the Abhva use is prepped for removal as salvage, as it fetches a pretty penny on the conflict’s grey markets. Once complete, the crew cautiously moves (upwards, relative) to the Gun Decks, where they encounter the remaining dozen or so Pretya defenders. The terrifying psychic attack damages and incapacitates the majority of the boarding crew, but the fearless actions of Bosun Kaffir (and his lethal cutlass work) wins the day.

Once the last resistance is wiped out, what remains of the boarding party make their way to the bridge and extract the hundred of kilograms worth of silicate power cores the Abhva seem to use to direct power within the ship. Boarding action complete, the boarding crew retreats to the Sulas Tine, hard fought booty in tow.

Scene Three: Yami Belt Quadrant III, contested space. The Sulas Tine, amidst wreckage of two Marauder class vessels.

The boarding party presently consists of Captain Chabra, Chief Mala (injured), Bosun Kaffir (recovering), Chief Vãhakah (disabled), and five Damage Control Crew (all but one disabled) currently on a heading to investigate the deteriorating hull of the second Marauder class vessel on the Sulas Tine, the Privateer Corvette that serves as the Ship’s Boat to the Parindra II.

Captain Chabra plays the corvette’s scanners across the second Marauder vessel, and quickly comes to the conclusion that the explosive forces of the scuttling charge are torquing the hull in several directions, and time is running out to salvage any valuables from what remains of the hull. Piloting the Sulas Tine to the biggest existing hull damage in the Engineering Decks; the boarding crew skips the airlock to directly enter the decompressed and dangerously broken hull directly.

Thankfully, there are no remaining crew to defend the spoils of ware. Unfortunately the environment is hostile enough in its current state, with the radioactive fuel spilling about in the microgravity environment. The environmental protection afforded by shipsuit and atmos mask is insufficient to protect the crew from the damage from the toxic chemicals when physical contact is made; Boson Kaffir, who has gone without, takes some especially punishing radiological burns to his skin.

From the Engineering Deck, the race is on to make way through the Gun Deck and Quarters to the Bridge to try to recover the silicate cores the Solar Navy uses to count coup on the Abhva (and not coincidentally, how they award prize money for degrading the Abhva war effort). Some engineering knowledge is useful for extracting the materials from a substantially compromised power distribution node; from here it is extracted directly through the gaping rents in the Bridge hull. where some skilled piloting from Captain Chabra recovers is at the crew as secondary explosions rack what’s left of the hull into a rapidly expanding debris cloud.

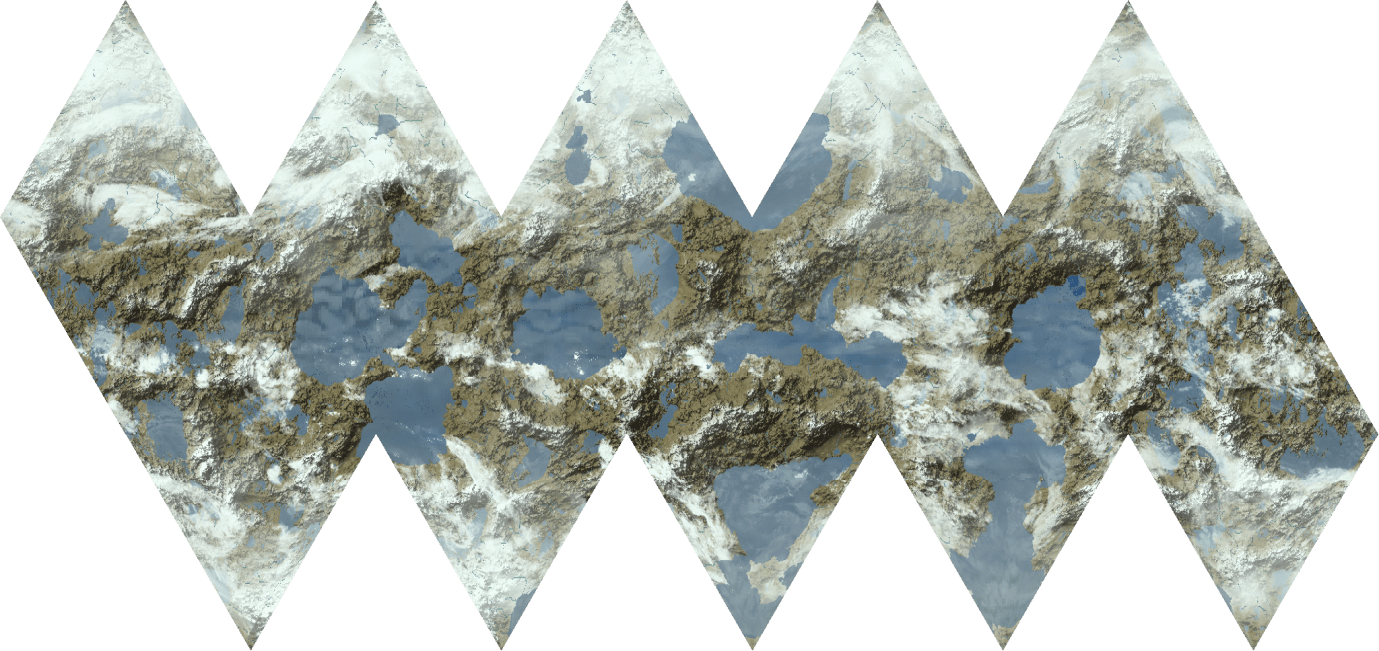
Yami Belt Colony – Sei

QuadrantIII
BearingYamuna -8º
Mean Orbital Distance:378 M km
Days to Orbit:1187
Mean Radius:420 km
Surface Area:2,220,000 km2
Base Temperature11.4° C
Seasonal Variation:24.6° C (High), -1.9° C (Low)
Average Precipitation28 cm
Significant Imports:Consumer Items
Significant Exports:Alchemicals, Organics (Engineered), Textiles (Primitive Fabrics)

Notes

Authority: Independent, Agriculture Outpost

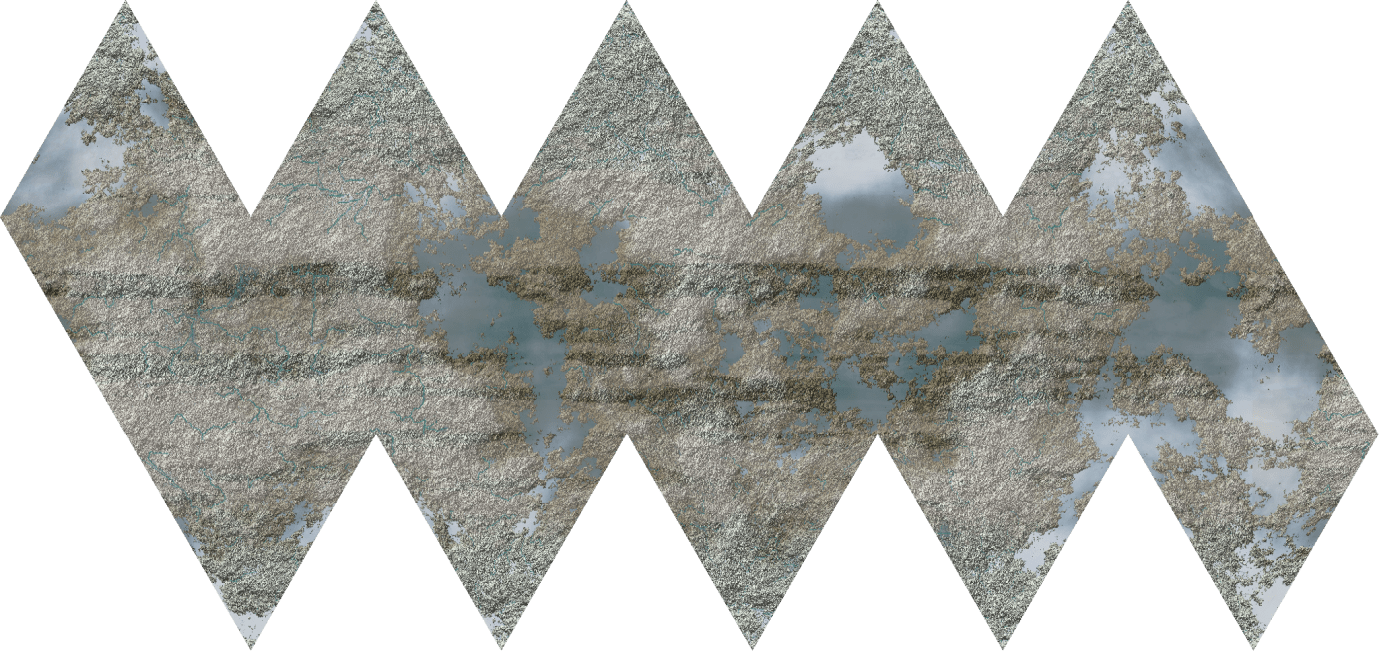
Yami Belt Colony – Pakhria

QuadrantIII
BearingYamuna -33º
Mean Orbital Distance:380 M km
Days to Orbit:1194
Mean Radius:444 km
Surface Area:2,480,000 km2
Base Temperature2.9° C
Seasonal Variation:12.68° C (High), -6.79° C (Low)
Average Precipitation19 cm
Significant Imports:Industrial Materials, Metals, Consumer Items, Textiles
Significant Exports:Minerals, Machinery

Notes

Authority: Provincial, Industrial / Extraction Outpost

Episode Five, Session One

Scene Zero: Yami Belt Quadrant III, contested space. The Parindra II, battle stations

The Parindra II is closing with a pair of Makara Marauder class vessels (it easily out-masses both). Through an extended game of cat and mouse, our heroes disable both of the Marauders… although one has the wherewithal to self destruct, costing the crew of the Parindra II the salvage value of the Abhva radioactives used as fuel. Still, the bounty for both vessels should be secure, once the silicate power cores are recovered (or salvaged, as the case may be).

Scene One: Yami Belt Quadrant III, contested space. The Parindra II, battle stations

The poorly crewed Marauder vessels never stood a chance. Within five minutes of engagement, the first Marauder is disabled and dead in space with crew casualties. Within eight, the second Marauder is disabled, but chooses to scuttle itself rather than leave any survivors (the ship is still superficially intact, although more than 50% of the interior has decompressed and radioactive powerplant leaks are rapidly rendering the interior extremely hostile to life).

The Parindra II was never even subject to a completed firing solution from the enemy in that time. In addition to the bridge crew, there are approximately 10 crew assigned to damage control that are available for boarding actions. Onwards to the wrecks!

Consequences (FATE)

For the gaming part of Rockets and Mayhem, we use Fate Core, as previously mentioned. It’s a narratively focused quick rule system that is fairly universal in it’s approach to things. Anyway, one of the things that it asks players to provide is creative descriptions for the injuries they take.

We definitely do that. But also, as with a couple other mechanical options (Stunts, Extras) I provide some samples and examples for the players so if they get stuck in a low-imagination moment, play doesn’t grind to a halt. So, here are my “default” injury levels, arranged by Mild, Moderate, and Severe Consequences.

Damage

Mild

Moderate

Severe

Common / Non-Lethal Stunned Stunned Stunned
Mental / Poisons Lethargy Weakness Partial Paralysis
Physical / Biological Sickened Infected Contagious
Physical / Respiratory Out of breath Difficulty Breathing Collapsed Lung
AOE fire damage 1st Degree Burns 2nd Degree Burns 3rd Degree Burns
Mental / Social Angry Enraged Homicidal
Mental / Social Embarrassed Ashamed Mortified
Physical / Endurance Tired Fatigued Exhausted
Morale Shaken Depressed Despondent

Arm, Leg

 
Physical / Blunt Bruised * Sprained * Fractured*
Physical / Edged or Projectile Hurt * Disabled * Crippled*
Physical / Energy Burned * Blasted * Crippled*

Torso

 
Physical / Blunt Hurt Bruised Vomiting Blood or Sucking Chest Wound
Physical / Edged or Projectile Hurt Bloody Internal Bleeding or Penetrating Chest Injury

Head

 
Physical / Blunt Pain Confusion Loss of Memory or Semi-Conscious
Physical / Edged or Projectile Stunned Head Trauma Fractured Skull
Physical / Other Buffeted Blurred Vision Eye Damaged
Physical / Other Headache  Confusion Convulsions

Extreme Consequence / Physical Trouble

 
  Severed [arm, leg]
  Blinded
  Deafened